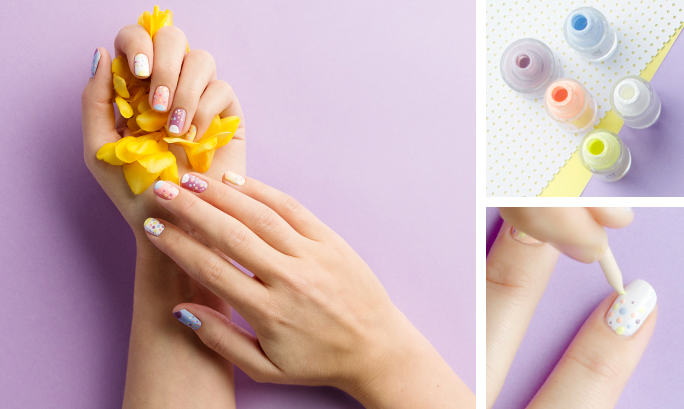
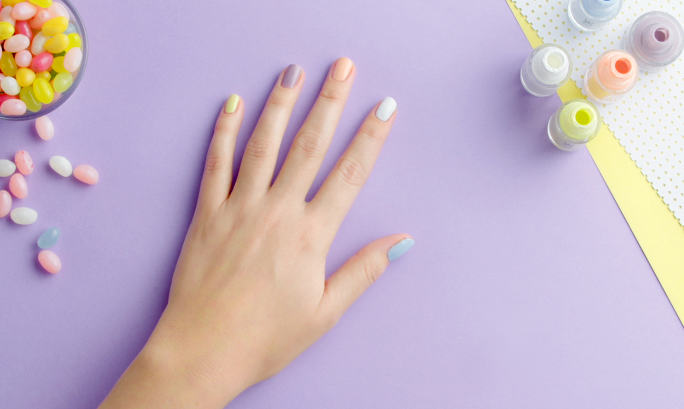
1. BASE COLOUR
Start by selecting a few pastel colours that you like. Then choose one as you base coat. Apply that on all nails, or use different colours if you like. Let your nails dry.
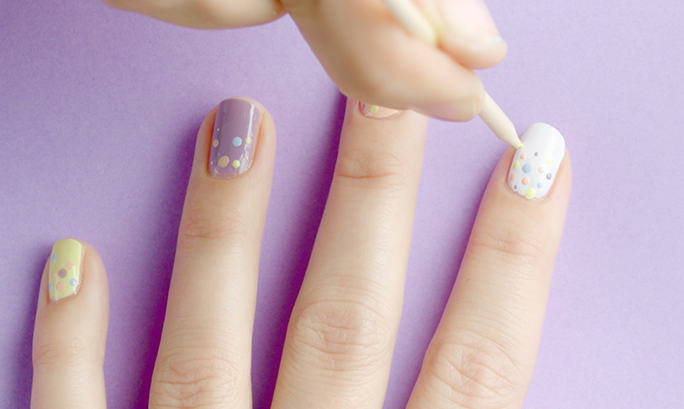
2. CONTRASTING COLOUR DOTS
Pour a small amount of each nail polish onto a strip of tin foil. Then take a wooden manicure stick or a toothpick, and dip it into the polish. Now, start creating your dots with different contrasting colours. Be creative!
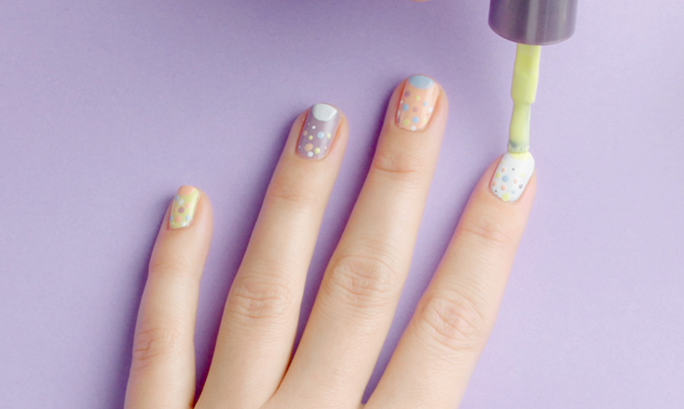
3. HALF-MOON DOT
Finally, make a half moon dot at the top of each nail, using a nail polish with a rounded brush. Now leave your nails to dry completely.
4. TOP COAT
Set the manicure with a transparent top coat and enjoy!
Click here to watch the video.


